
(in case your wondering, I love love love dried flowers and have them all over!!)
Last month I showed you a sneak peek of a bundle of craft supplies I received from EKSuccess Tools and I've been patiently waiting to share a fun and easy paper art tutorial I made! First up if you aren't familar with them- EKSuccess Brands™ is a creative consumer products company focused on producing innovative products under brands you know and trust. From scrapbooking, stamping and paper crafting to jewelry making, needlecrafts and kids' crafts, their products will inspire you to celebrate everyday life!

I love receiving packages in the mail and this amazing pile of goodness made my heart skip a beat! Not only is their packaging easy to dig into (hello, have you ever had a legitimate anxiety attack opening a package?!), but you are immediately motivated to start creating something based off all their inspiring project photographs on each of the tools. And with a quick scan of their qr codes on the packaging you are taken to even more creative outlets, liked this fun video!

I've been swooning over images of paper cut art, and although I knew I couldn't come close to anything mind blowing, I still wanted to try my hand (& tools) at creating a little artwork of my own.
For this project I used the EKSuccess Tools:
3"x 15" ruler pro, retractable knife & blades, decorative scissors and herma dotto permanent adhesive dispensers. Along with a cutting pad, pencil & paper.. and a frame that it will be displayed it.

Determine artwork size based on frame you will be using to display it
1: use ruler to draw a line on your paper where you will place text
2: free hand word(s) you will be cutting
3: cut to desired size
4. use retractable knife to cut out letters (image)
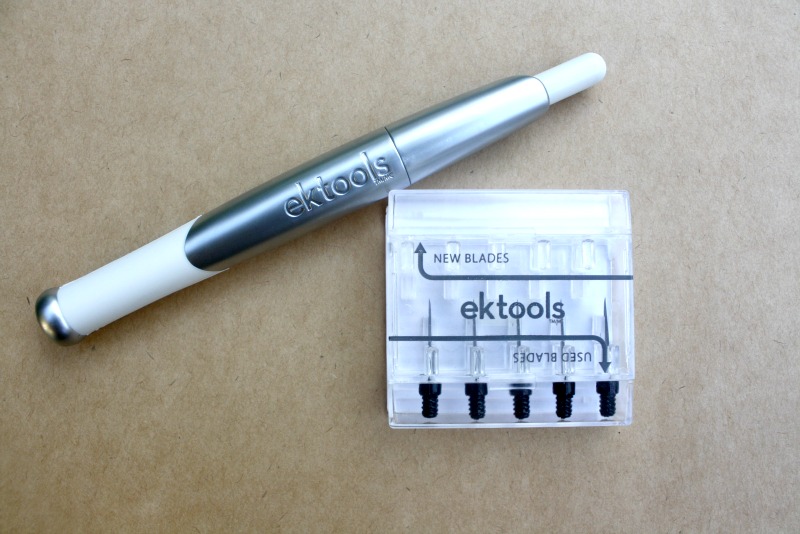
I loved all of the tools available, but one of my favorites was the retractable knife and blades. I won't lie, I'm a little on the clumsy side. The best part about this tool was how safe I felt using it, at no time was my life at risk like it usually can be when handling sharp objects. Not exaggerating about this.

After your image is cut out, erase pencil marks that are still visible.

5: I used the decorative scissors to give the ends of the paper some love too
6: grab that herma dotto permanent adhestive
7: roll along the back of your paper. warning: it makes a cute noise
8: flip it over and place on background paper (i used basic white)
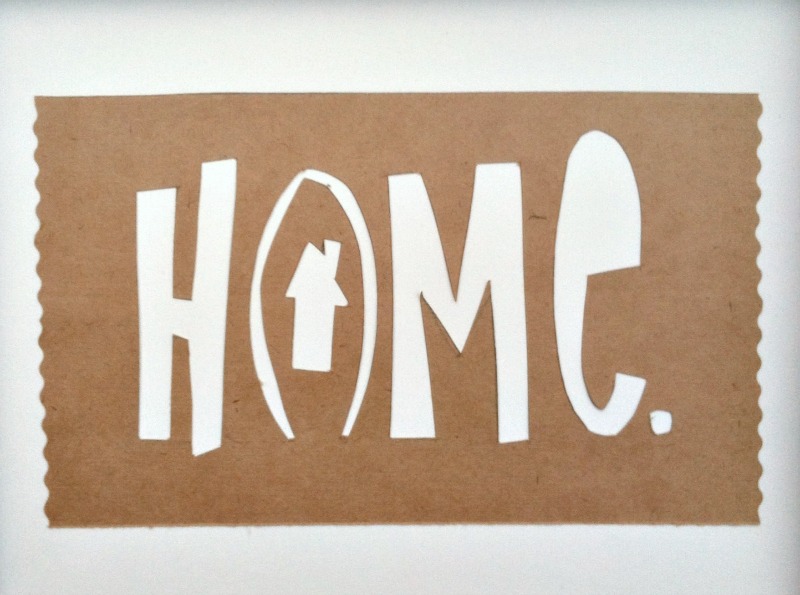
Now like I stated previously..nothing mind blowing, but I am pretty darn proud of that little house! As you may or may not know we are downsizing our life over here for about 6months, so this little guy will have lots of meaning no matter where we go.
I've added all of the EKSuccess Tools to my crafting arsenal and I can't wait to share more projects! You can easily purchase their supplies on the website and at select Walmart stores. I would suggest you visit their facebook or website, it is full of some amazing resources like their crafting community, newsletter and so much more!
Have you tried any of their tools?
Do you have a favorite or one you want to try?
This is so cute!! I love that little house you made, and I'm super happy that you didn't cut yourself hehe
ReplyDeleteCute little sign!! Love the house in the middle! :) Have a great weekend! Hugs, Holly
ReplyDeletei love this idea for home-made art. home is my favorite place ever =)
ReplyDeletethis is so very sweet! and, yes, i have been wanting to try this for some time! in fact i bought a book about it but have yet to try it yet. . . maybe this weekend, you have inspired me!
ReplyDeleteI love this idea .... thanks for sharing! :)
ReplyDeletehttp://livelaughlovemrsrj.blogspot.ca/
Thanks for sharing your idea...I love this and who knew simple could be so lovely.
ReplyDelete