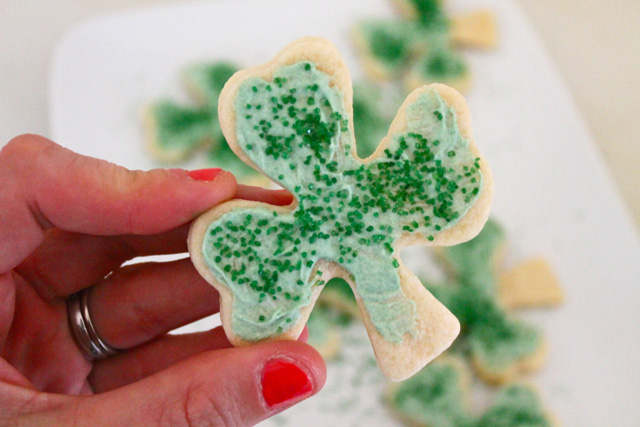
Shamrock Cookies
by contributor Gina Morrison of Acute Designs
I made these little shamrock cookies in honor of the upcoming holiday and because my little niece {who loves "cookiesh"} was visiting.
Sadly, my husband and I accidentally ate them all before she arrived. True story. I think I need to make some more so I don't break her little 2 year old heart =).
{Almost} Too Cute to Eat Shamrock Cookies
This recipe makes about 20 cookies, if you need more just double it. Also, since I decorated the cookies with chocolate, I made the dough less sweet than your average sugar cookie. If you don't plan on decorating these, expect a less sweet cookie.
-1 1/4 cup all-purpose flour
-1/3 cup powdered sugar
-a pinch of salt
-8 tablespoons unsalted butter cut into small pieces
-1 egg
-1 teaspoon vanilla extract
-1/2 teaspoon almond extract
-extra powdered sugar for dusting
-white baking chips for decorating {Not sure what these are officially called but they are different than white chocolate. They are sold in the baking aisle and often have a "vanilla" flavor. I like to use these because they are extremely easy to melt.}
-green food coloring
-green sugar sprinkles
-dark chocolate for decorating {optional}
-a shamrock cookie cutter {I found one at Michaels}
-parchment paper
Step One:
Put the flour, powdered sugar, and salt into the bowl of an electric mixer and mix on slow speed for about 30 seconds.
Step Two:
Crank up the speed and add the butter, one piece at a time. Allow the butter/flour mixture to mix until somewhat combined {it will really start to come together in step three}.
Step Three:
Add the egg, vanilla extract, and almond extract to the bowl and continue to mix until the dough all comes together. Be careful not to overmix....just go until the dough starts to form a ball.
Step Four:
Heat the oven to 350 and dust your work surface with a little powdered sugar. I prefer to use powdered sugar over flour because flour tends to dry out the dough.
Use a rolling pin and roll out the dough to about 1/4" thickness and cut out the shamrock shapes.
Step Five:
Line your baking sheets with parchment paper and bake for about 11 minutes. Remove pans form oven and transfer cookies to a plate to cool.
Step Six:
Melt the white baking chips and mix in a few drops of green food coloring. I used a new basic, craft paint brush to paint on green icing. Then I toped the cookies with green sugar sprinkles.
Since I am a huge dark chocolate fan, I also painted some of the cookies with melted dark chocolate and sprinkled them with the green sugar sprinkles.
Enjoy!


Those are adorable!
ReplyDeletehttp://shannonhearts.blogspot.com
Such a delicious easy recipe! I look forward to making these! (I also pinned them :) )
ReplyDeletei never thought of using a paint brush with your icing! brilliant!
ReplyDeleteYummy! The paintbrush idea is great!
ReplyDeletexo Heather
http://ahopelessnotebook.blogspot.com/
ooh, how yummy! the chocolate-topped ones look delish :)
ReplyDelete